Brewing Coffee with the Aeropress
Below you've find our full video guide to the AeroPress and the AeroPress GO! If you prefer a written guide, see below
The AeroPress is one of our favorite ways to brew single cups of coffee. It's fast, easy to clean up, and it brews an excellent, clean cup of coffee. But our favorite part about brewing with the AeroPress is that it allows you to control all the brewing variables: time, water temperature, grind, pre-infusion...basically it puts you in full control of the extraction process. This allows so much room for you to experiment and find your favorite way to brew. It's a coffee geeks' dream!
But where to start? Here we're going to show our preferred "standard" method of brewing with the AeroPress, since we (as well as most of the Specialty Coffee Industry) aren't big fans of the manufacturer's recommended brew method. Our standard method allows for full extraction and will consistently produce a delicious cup of coffee. So start here, then have fun experimenting with the many, many ways to brew using the AeroPress! For more recommendations, check out the recipes used in the World AeroPress Championship (yeah, it's totally a thing!).
getting started
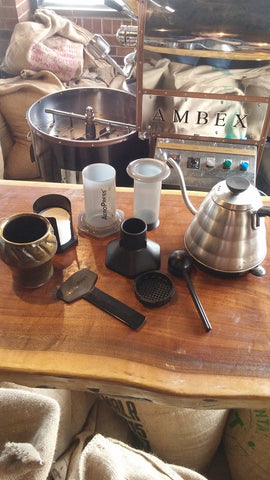
You'll need: The first 5 items come included with the AeroPress
- The AeroPress (plunger, chamber and filter basket)
- AeroPress filter
- Stirring Paddle
- Scoop
- Funnel (optional)
- Ground Coffee, ground a bit finer than drip but less fine than espresso
- Hot Water - About 8-10oz, Just off the Boil (190-200 degrees F)
- A Mug
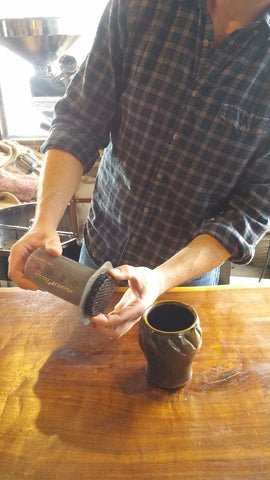
step 1: prep
Place the filter in the basket and pre-wet the filter and mug using a few ounces of the hot water
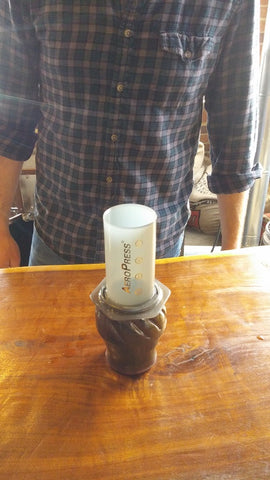
step 2: attach basket and place on mug
Pour the hot water out of the mug, then attach the basket to the chamber and place on top of your mug. CAREFUL: The basket will be quite hot from the pre-wetting!
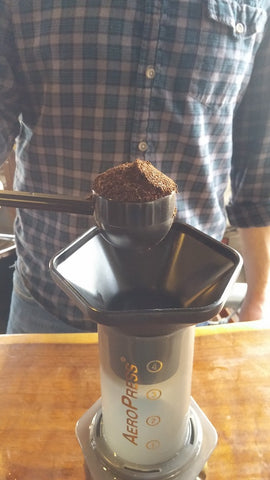
step 3: add coffee
Place funnel on top of chamber (if desired, it just makes it easier to not spill the coffee) and add 1 heaping scoop of grounds
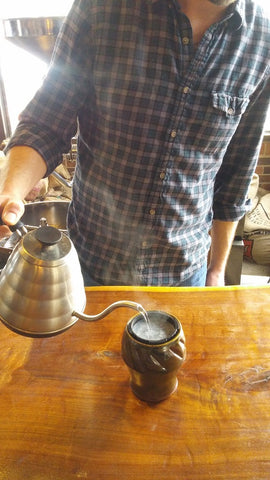
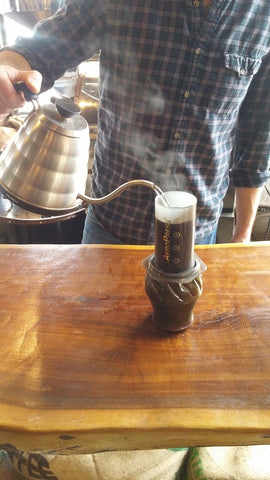
step 4: add hot water
Add hot water to the chamber up to about the 4 mark and gently stir a few times with the stirring paddle
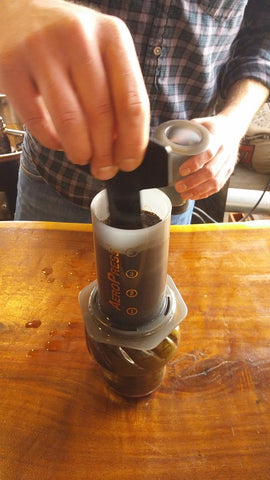
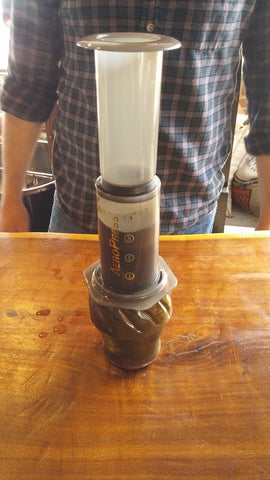
step 5: wait
Place the plunger on top of the chamber, push down just a hair and then pull back up just a hair (this creates a seal) and wait ~1 to 1.5 minutes.
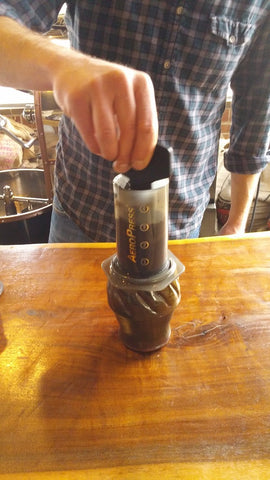
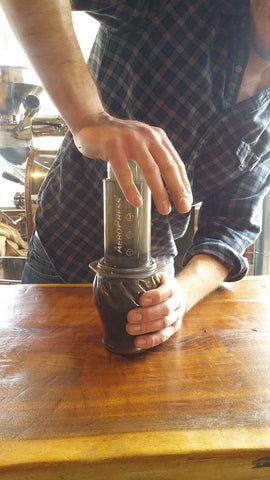
step 6: stir and plunge
Remove the plunger, give the grounds another few stirs, place the plunger back on the chamber and push! You'll need 30-40 pounds of pressure, so be careful! As you're nearing the end, you'll hear a hissing sound as you get the last of the coffee out of the chamber.
step 7: remove aeropress and enjoy!
Remove the chamber+plunger from your mug and unscrew the basket from the bottom. While holding it over the trash can, push the plunger the last little bit and your coffee puck will pop right out. Rinse the AeroPress parts off with clean water. Enjoy your delicious coffee! The whole process only takes about 2 minutes once your water is hot!